|
Flywheels |
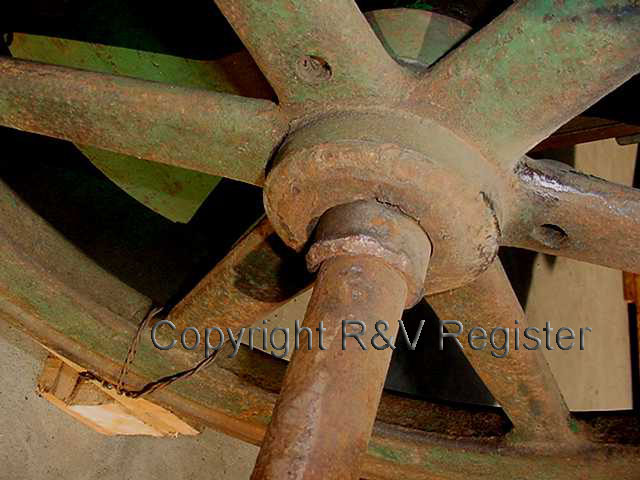
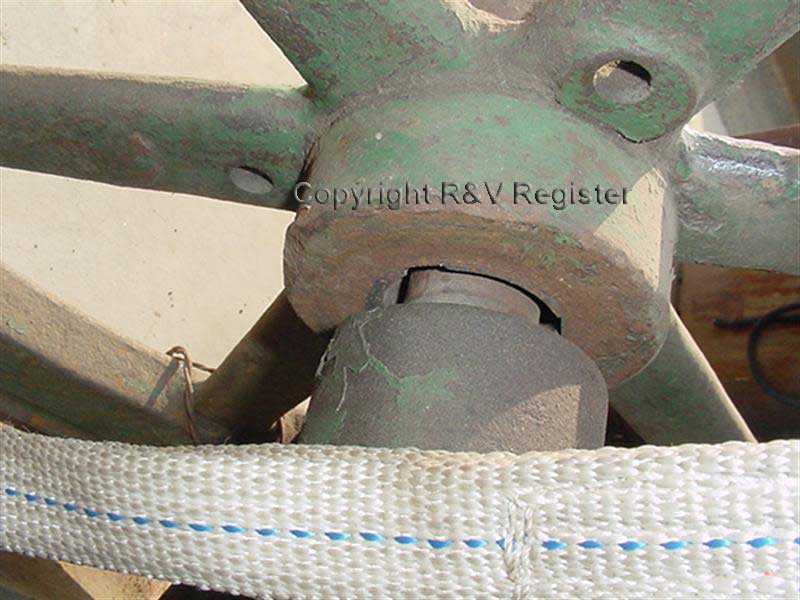
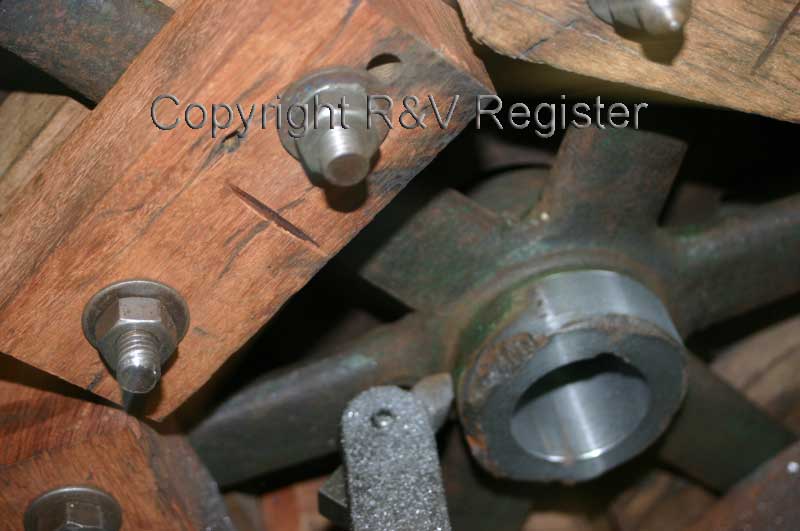
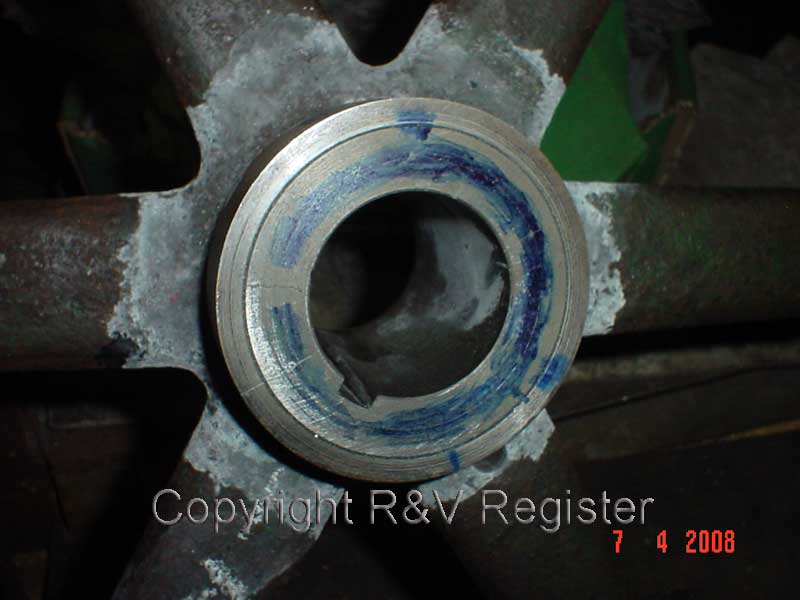
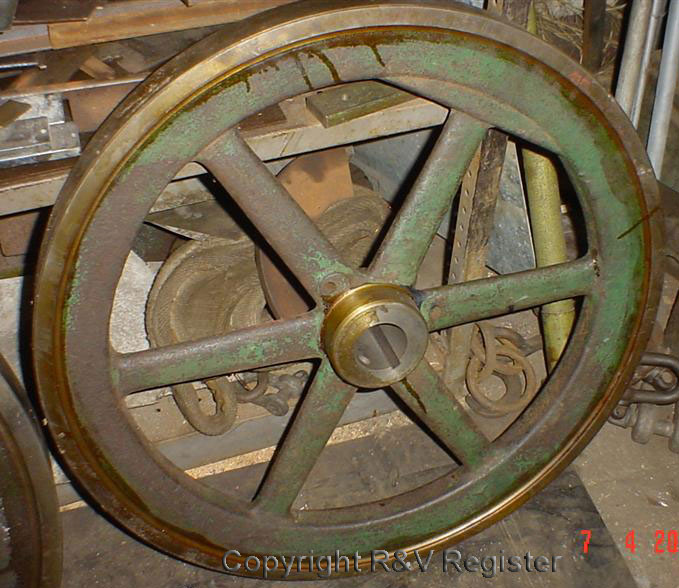
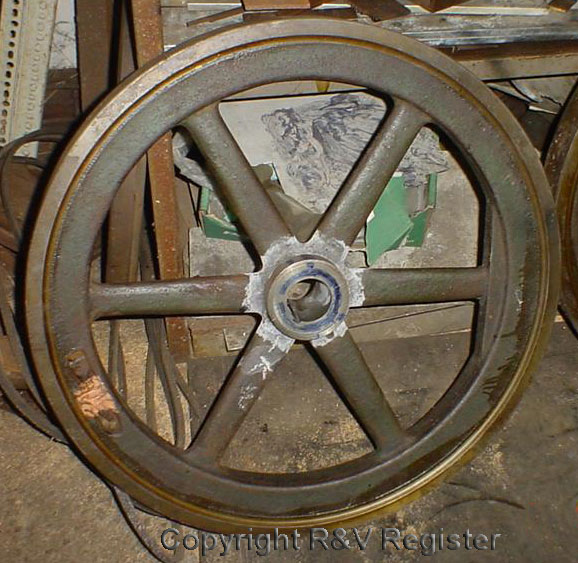
The photos
here show the huge amount of wear on the crankshaft and flywheel hubs.
There had been numerous repairs to the hubs, too many to accurately
count, but they range from cold welding, pieces of shim, badly made
keys, dual keys in the same key way, pieces of metal hammered in along
the worn shaft, sleeves around the hubs etc etc. The crankshaft was
also broken, but that will be dealt with under the crankshaft repair
section. Crankshaft
repair
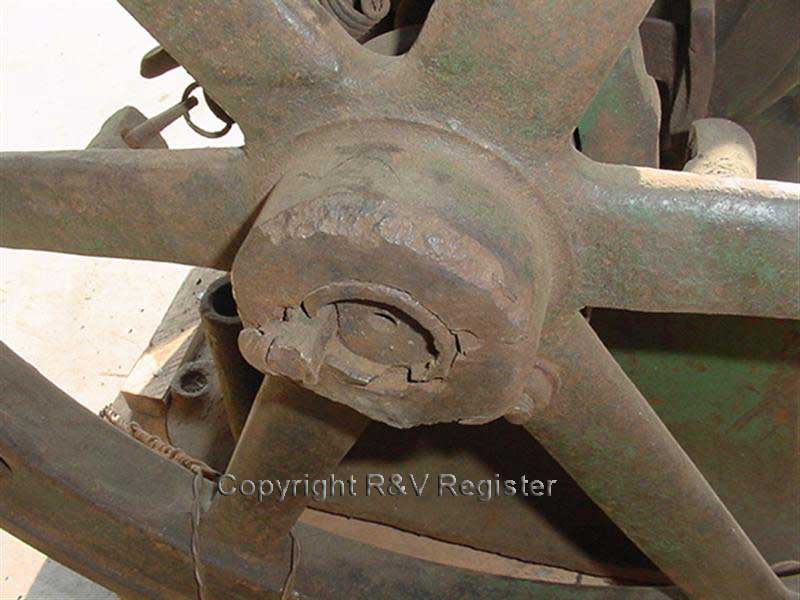
Also the edges of the hubs were badly eroded from being hit with a hammer
when trying to hit home the keys and shims. From this point we decided
to take the drastic measure of totally replacing the hub internals and
facing off and replacing the damaged hub faces.
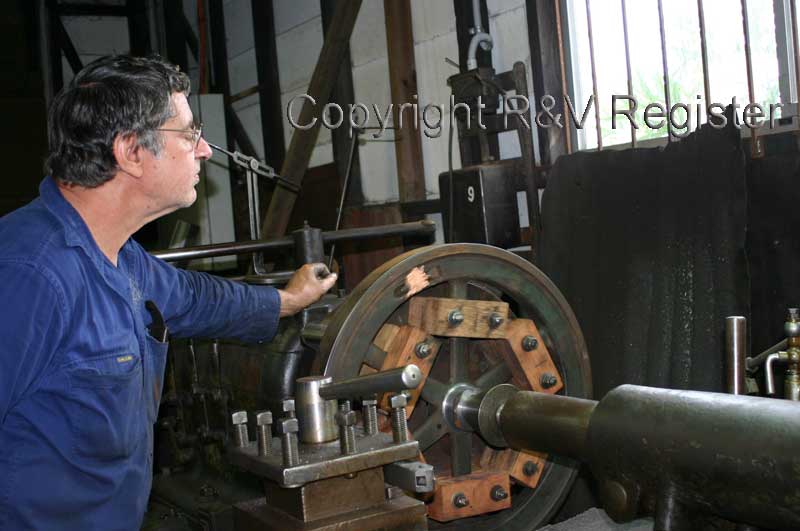
The work was done by my long time friend of some 38 year, John
Hartley of Hartley Engineering in Mayfield, Newcastle, NSW, Australia.
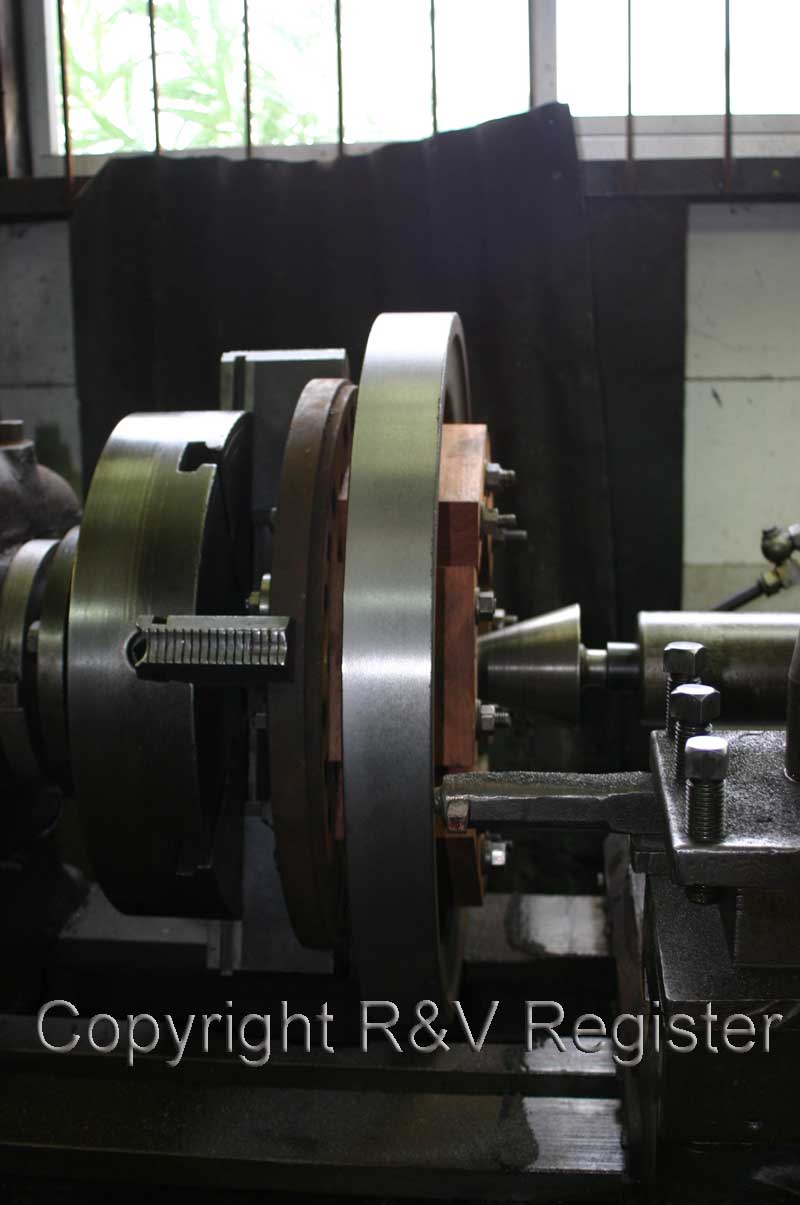
This was a big task, but John has a lathe that can swing the 24"
flywheels so that we could do the repairs.
|
 |
| |
|
| |
|
|
|
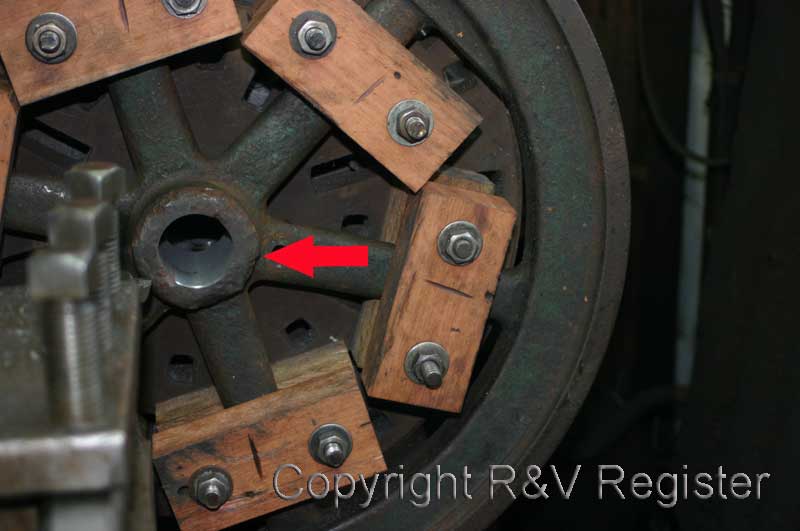
| The repairs
to the flywheels were quite extensive, the life of this engine in Argentina
was one of total slavery and abuse.
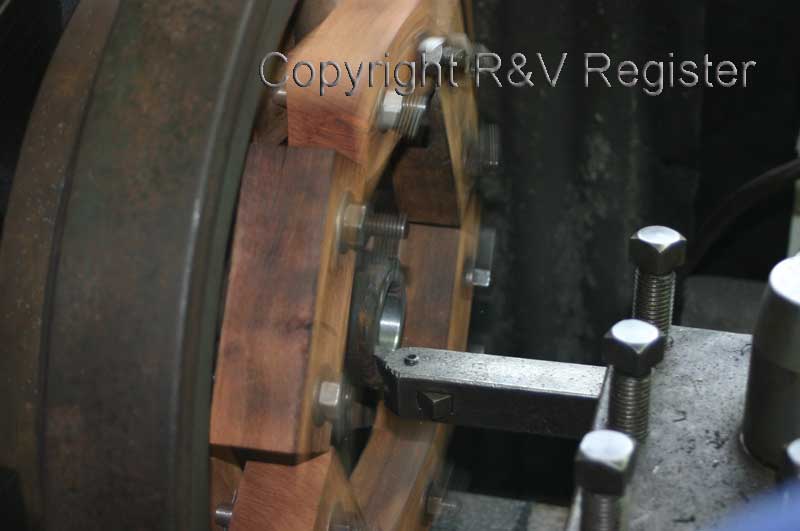
The first photo shows a red arrow pointing the the badly damaged outer
hub area, that I would say was due to constant pounding home of the gib
head keys and many sleeves that had been fitted due to the flywheels coming
loose. |
| |
|
|
|
| |
|
.jpg) |
|
| |
|
|
|
| |
The first job was to machine that worn area
off, then bore the center and make up an insert to replace what was machined
off. |
|
|
| |
|
|
|
| |
|
|
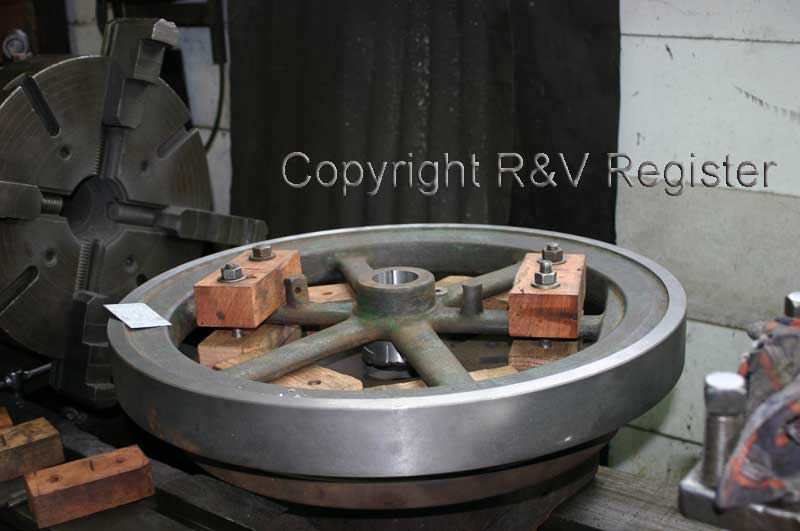
Then the flywheel rims and faces were
skimmed to remove the chips, rust and damage.
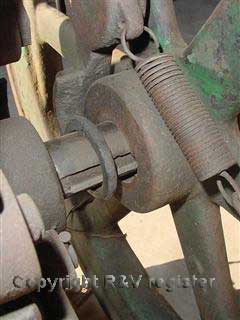
Note: The starting handle in the flywheel
was held in place with body filler for safety.
|
| |
|
|
|
| |
|
|
|
| |
|
|
|
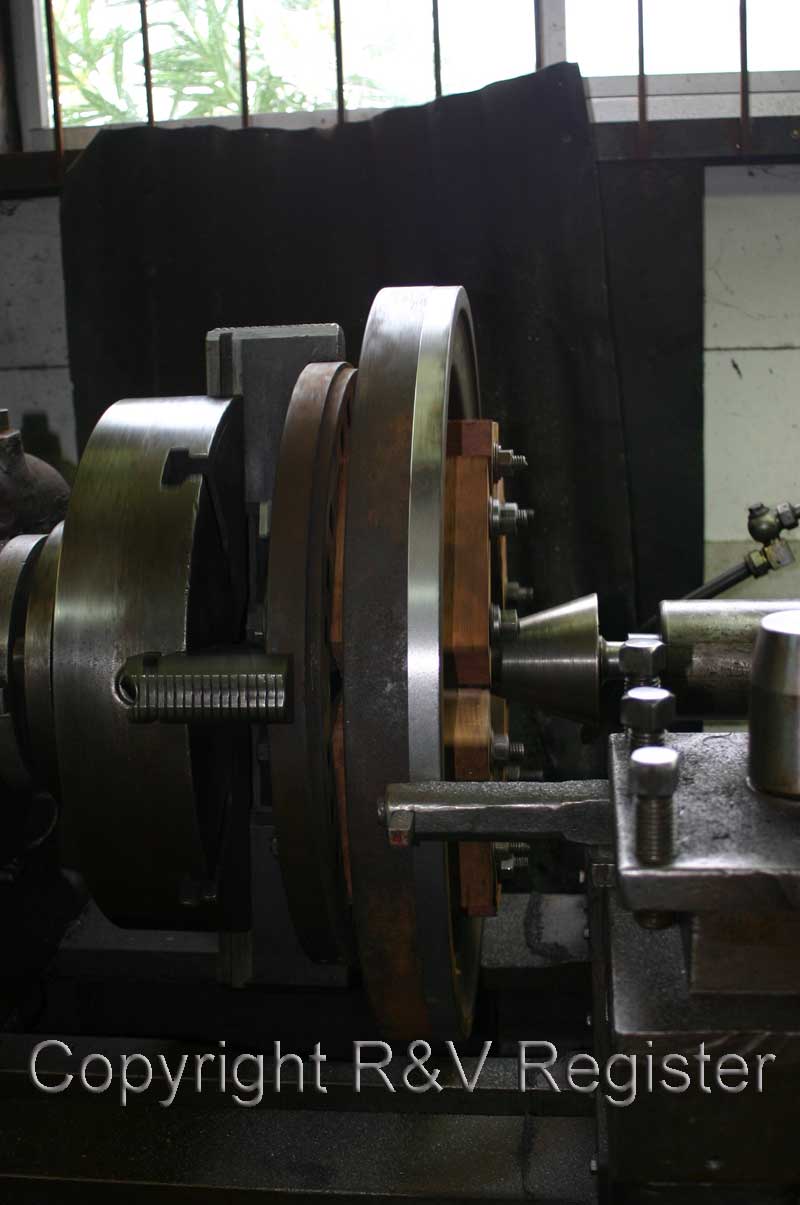
Above:
Machining the rim and faces and the completed job. . This
is stage 1 completed. |
| |
|
Stage
2:Replacing the hubs |
|
| |
|
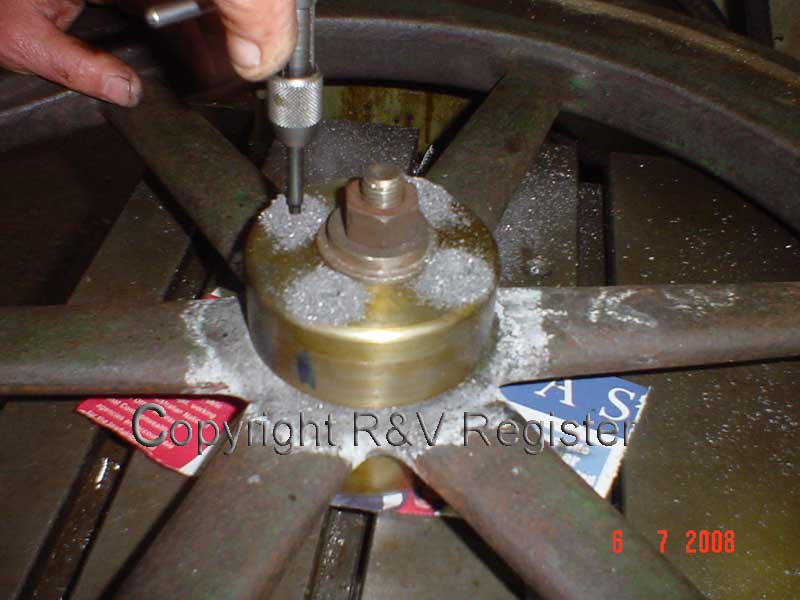
Left:
The old hub has been faced off, the center bored out over size to accommodate
the new hub and a retainer ring shrunk over hub. This was held in place
with Loctite 680. The white area is Loctite primer.
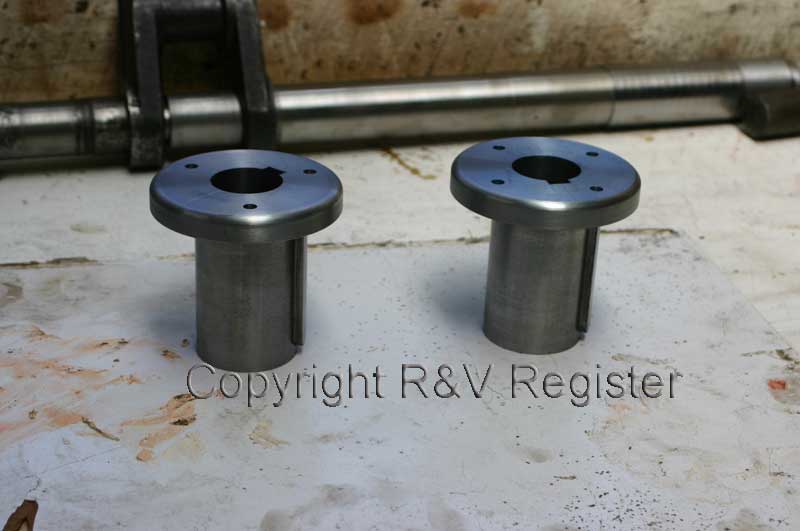
Right: The new hub centers and outer
hub all in one piece. This part is keyed into place into the old hub
and held with Loctite 680.
|
|
| |
|
|
|
| |
|
|
|
| |
|
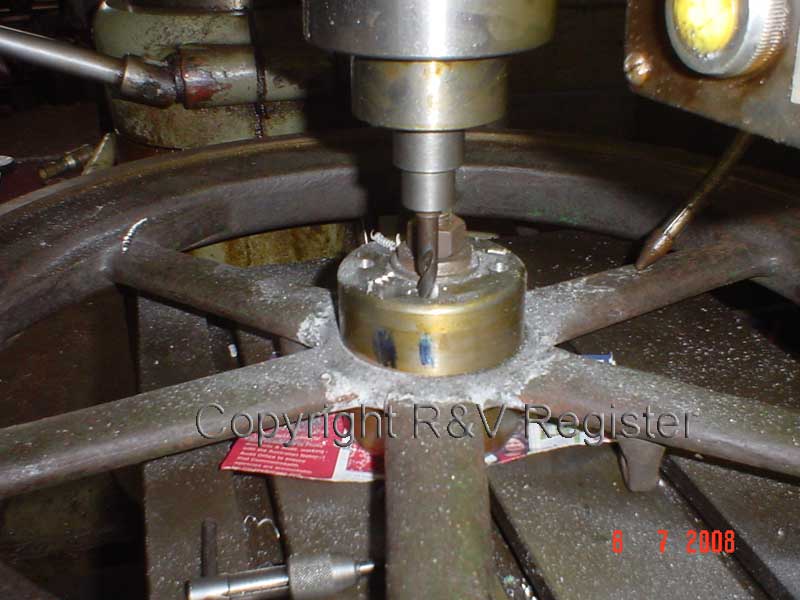
Once the new hub is in place, it is drilled
through into the old cast iron hub, counter bored, tapped and a socket
head bolt was inserted slightly below the surface. Loctite 680 was used
on the bolts and they will be covered in liquid metal and sanded level
to the face.
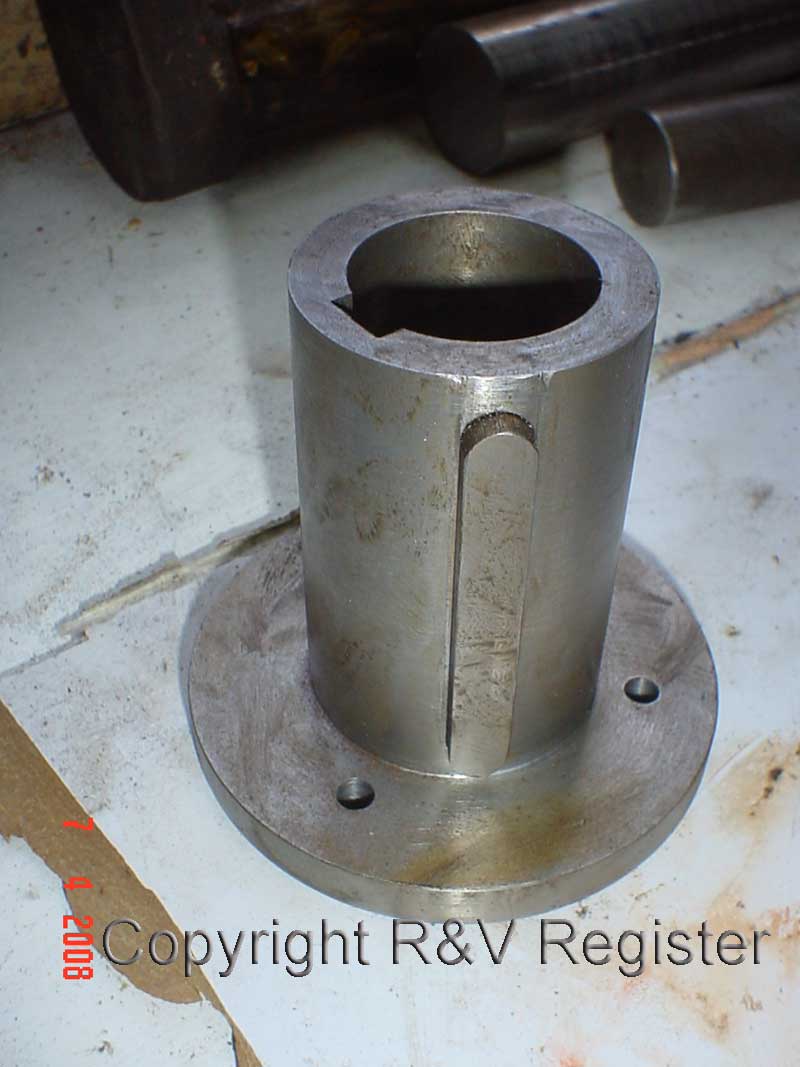
So that is it in a nut shell, I now have two new flywheels.
|
| |
This is the new hub, the center
bore is the new crankshaft size, the key holds this new part into the old
machined out hub. The flange replaces the worn section of the hub that was
machined off. |
| |
|
Both flywheels finished, now to clean off
paint with a light bead blast, The machined areas are painted with rust
protector.
Next job is to paint the flywheels. |
|
| |
|
|
|